Essential Tips for Protecting Underwater Photography Gear
For most diving enthusiasts, the best part about diving isn’t just able to feel the waters and swim alongside stunning marine life. Of course, part of the fun is also documenting this surreal experience and coming home with breathtaking shots of vibrant fishes, corals, and other ocean creatures. In fact, such is the appeal that there are many competitions like this one from Analox last year. But don’t get too excited and dive in right away. You must be careful and responsible to protect your gear before, during, and after diving. That said, here are some tips to keep your equipment in good condition at all times:
Bring the right camera and housing

First things first, make sure what you’re bringing to your dive is actually fit for underwater use. Electronic devices and water don’t exactly go hand in hand, and the slightest leak in your gear can destroy it. Two of the most important pieces of equipment are your camera and housing. There are several underwater cameras like those from SeaLife and Coleman. If you prefer something you can use on land too, Adorama showcases a range of models, including mirrorless cameras like the Panasonic Lumix DC-G95, and DSLRs like the Canon EOS 5D Mark IV.
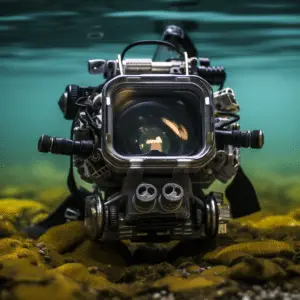
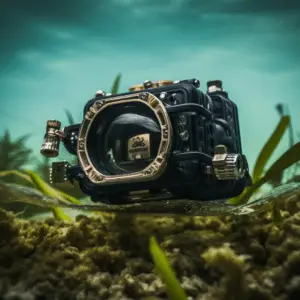
These models have specific underwater housings that you can use to protect your gear. For instance, the AquaTech Elite II is for the Nikon D850. There are universal camera housings that can be relatively cheaper than specifically-made housings. However, they might cost you more in the long run if they leak from poor fitting. As such, it would be better to play it safe and search which cameras have their own housings to ensure you’ll be able to take underwater photos smoothly.
Pack the camera carefully
Packing your camera properly includes more than just putting it into the housing. For starters, don’t pack it in dusty or windy areas, as particles may end up entering the housing. Before you begin, make sure everything you need is already within reach since the housing may attract dust or fiber when you leave it to grab something. If your housing has space between its base and the bottom of the camera, you can put silica gel or tissue to buy you time to get to the surface in case of leaks.
But to reduce the chances of a leak in the first place, test your setup by holding your packed camera underwater, such as in a wash tank, and check for bubbles. Also, take test shots with your other equipment, such as color correcting filters and strobes, in order to avoid the need to go to the surface to adjust settings and equipment. It’s better to discover a problem while you’re still above water and correct it quickly before proceeding with your trip. Tweaking the housing in the middle of your dive can compromise your camera’s safety.
Prevent saltwater corrosion
When you’re done with your dive, it’s not enough to just put your equipment aside and wipe them down. DPReview shows how damage is always worse on the inside, even if the outside looks fine. Saltwater can cause corrosion on metal parts, from the circuitry to the wires. Aside from destroying a camera, it will also make it longer and more difficult to disassemble your housing. To prevent salt water from seeping from the housing to the camera, soak your setup in freshwater or gently flush it in a freshwater shower immediately post-dive. The warm water will dissolve salt more effectively than room temperature water. Afterward, it would be best if you used a blower to remove water from within the buttons, then dry the surface of the port and viewfinder to prevent the forming of permanent watermarks.
Invest in a good case
Good equipment doesn’t come cheap, so you’ll want to invest in a good case as well. This includes roller bags like the Think Tank Retrospective Backpack Camera Bag, which is like a suitcase made for camera equipment. Hard cases like those by Pelican are great, too, since the tough exteriors prevent your gear from damage due to drops, water, dust, and more. When choosing a case, find something that will comfortably fit your equipment. Some bags have adjustable dividers, so you can rearrange them to accommodate different equipment.
Pad your gear well
Protecting your equipment when you’re on the move doesn’t just depend on how durable your camera case is. The amount of padding that can help protect your things from drops and shakes is important as well. This may suffice if your gear is just with you most of the time. But if a lot of other people are handling your luggage, such as in airports or boat ferries, then extra padding will give you some more peace of mind. If you want additional protection for your gear, buy padded dividers instead of foam since it’s easier to change their shape and they take up less space.
Get insurance

Getting insured is one of the best ways to protect your gear, as you don’t have to worry about paying for expensive repairs or replacements in case anything happens during your trip. The Balance Small Business notes that underwater photography falls under high-risk photography, which means it requires a different type of coverage. While getting insured will cost a little extra, it’s better to pay a small amount compared to potentially paying hundreds of dollars for repairs and replacements due to water damage. An annual or monthly insurance coverage will be especially helpful if you do underwater photography on a regular basis. If you’re only planning a few trips each year, it’s best to opt for one-time coverage.
Protecting your gear is part of being a responsible photographer. Your gear is an investment that you can’t work without, after all. So before you embark on your next trip, keep the above tips in mind! If you need more advice on how to improve your underwater photography, check out our other guides here on Diving Picks.
